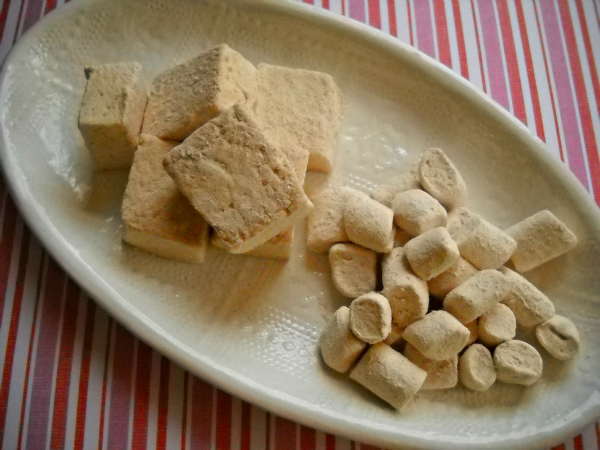
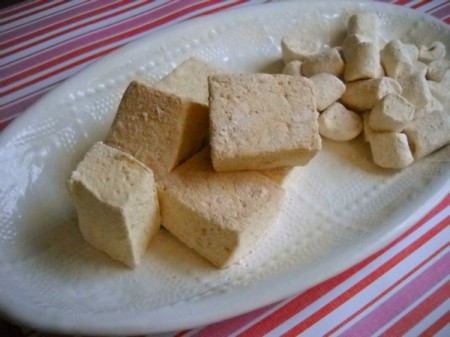
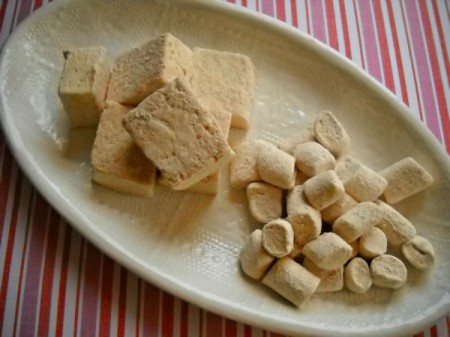
 Remember a couple years ago, I wrote about my first experience with fondant? Today, we’re going to play with sugar, corn syrup, gelatin, and candy thermometers. That’s right, we’re making marshmallows. Until I made this very recipe yesterday, I’d never used either gelatin or a candy thermometer before—and my cinnamon marshmallows came out perfectly. You know what that means, right? You can do it, too!
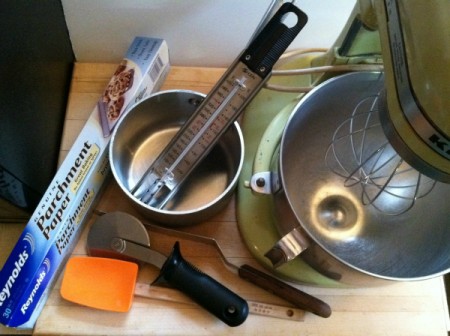
So, let’s begin with the equipment you’ll need:
- A stand mixer is a dealbreaker. You’ll be letting the sugary gelatinous goo whip for at least 12 minutes, so I wouldn’t try it without a workhorse machine like my 40-year-old Kitchenaid.
- That candy thermometer—I suppose you could get by without one, but unless you know exactly when your cooking sugar reaches the “soft ball” stage, you’ll have better results with an actual measurement. Candy thermometers are made specifically for this use, with a clip that attaches it to the pan. Mine even has markings that show you the various candy-making stages, so it’s practically idiot-proof.
- Offset spatula, spoonula, and pizza cutter. None of these is absolutely required, but each will make life easier in its own way. The offset spatula simplifies the spreading of the cooked goo; the spoonula ensures you get the very, very sticky mixture out of the mixing bowl; the pizza cutter cuts through the mallows with ease.
- Parchment paper. If you’re piping out minis, you’ll want to line your pans first.
- Not pictured: measuring cups and spoons, small strainer, pastry bag and coupler (if you’re making minis), 13 x 9 baking pan (if you’re making regular sized).
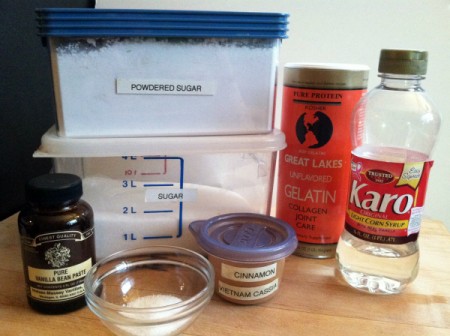
Now, on to the ingredients. It’s a short list:
- Gelatin. I’m pretty sure it’s impossible to make marshmallows without it. I found kosher gelatin on Amazon, which worked quite well—it’s made from beef bones so it’s not vegetarian, but I grew up kosher so using any other type made me uneasy.
- Granular sugar and confectioners’ sugar
- Kosher salt
- Vanilla
- Cinnamon
- Not pictured: vegetable oil
Got everything? Great. Let’s get cooking.
Oh wait, I should warn you: This is messy business. The marshmallow goo is just about the most vexingly sticky stuff I’ve ever encountered—use that vegetable oil I forgot to photograph to lightly grease the spatulas and the cutter, and repeat as necessary. Don’t be surprised if your kitchen looks like this when you’re done:
Cinnamon Marshmallows
Adapted from Alton Brown
3 packages unflavored gelatin (.75 ounce, or 3 tablespoons of bulk)
1 cup ice-cold water, divided
12 ounces granulated sugar, approximately 1 1/2 cups
1 cup light corn syrup
1/4 teaspoon kosher salt
2 to 2 1/2 teaspoons cinnamon, divided
1 teaspoon vanilla extract
1/2 to 3/4 cup confectioners’ sugar
Nonstick spray
- Put the gelatin and 1/2 cup of the ice-cold water in the bowl of a stand mixer fitted with the whisk attachment. Don’t include ice—just water. The mixture will very quickly look disturbingly, um, gelatinous and grainy. Not to worry.
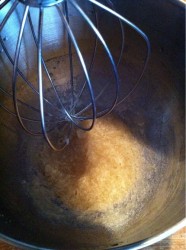
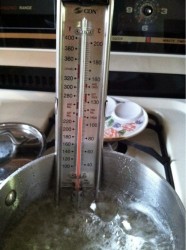
- While that sits, combine the remaining 1/2 cup water, granulated sugar, corn syrup, and salt in a small saucepan over medium-high heat. Cover and let it cook, untouched, for 3 to 4 minutes. Uncover, clip a candy thermometer onto the side of the pan and continue to cook without stirring until the mixture reaches 240° F, which will take anywhere from 7 to 12 minutes (depending on the flame and the size of your pan). Once it hits 240, remove it from the heat immediately.
- Turn the mixer on low and, with it running, slowly pour the sugar syrup down the side of the bowl into the gelatin mixture. Once all the syrup is in, increase the speed to high.
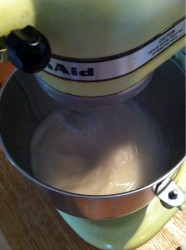
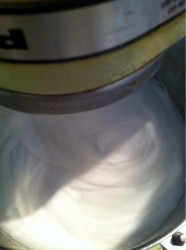
- Whip until the mixture becomes very thick and the bowl feels lukewarm, approximately 12 to 15 minutes. Add 1 teaspoon of cinnamon and the vanilla during the last minute of whipping.
- While the mixture is whipping prepare the pans:
- Combine 1/2 cup of confectioners’ sugar and another teaspoon of cinnamon in a small bowl. Line 4 rimmed baking sheets with parchment paper, spray the paper with nonstick cooking spray, and use a strainer to dust with cinnamon sugar.
- Using a lightly oiled spatula, scoop the mixture into a piping bag fitted with a coupler, without a tip—it’s the perfect size. Pipe the mixture into long snakes on the baking sheets, leaving about an inch between each. Dust the tops with enough of the remaining cinnamon sugar mixture to lightly cover. Let the strips set for 4 hours or up to overnight.
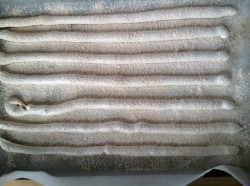
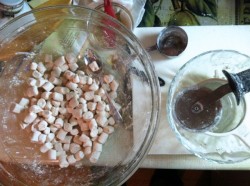
- Lightly oil a pizza cutter, and cut the snakes into 1/2 inch pieces—cut one snake at a time, then transfer to a large mixing bowl and toss with a teaspoon or two of cinnamon sugar. Repeat with the remaining snakes until you’ve got a huge pile of mini-marshmallows. If you need more cinnamon sugar, combine an additional 1/4 cup of confectioners’ sugar with 1/2 teaspoon cinnamon. Store in an airtight container for up to 3 weeks.
- Combine 1/2 cup of confectioners’ sugar and another teaspoon of cinnamon in a small bowl. Lightly coat a 13 x 9 metal baking pan with cooking spray. Add the cinnamon sugar and carefully shake the pan to coat the bottom and sides. Tap it gently over the bowl to return the excess mixture to the bowl for later use.
- When the marshmallow mixture is ready, pour it into the prepared pan, using a lightly oiled spatula (offset, if you’ve got one) to spread it.
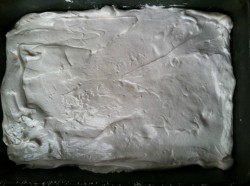
- Use a strainer to dust the top with a light coating of the remaining cinnamon sugar. Reserve the rest for later. Allow the marshmallows to sit uncovered for at least 4 hours and up to overnight.
- Place a cutting board on top of the pan and flip the whole thing over—the plank of marshmallows should drop right out. Lightly oil a pizza cutter and cut into 8 long strips, then cut across into squat rectangles. (Re-apply oil as necessary—these things are gooey!) I found it easiest to cut up two strips’ worth at a time, then transfer them to a large mixing bowl and toss with a teaspoon or two of cinnamon sugar. Repeat until all are cut. If you need more cinnamon sugar, combine an additional 1/4 cup of confectioners’ sugar with 1/2 teaspoon cinnamon. Store the marshmallows in an airtight container for up to 3 weeks.
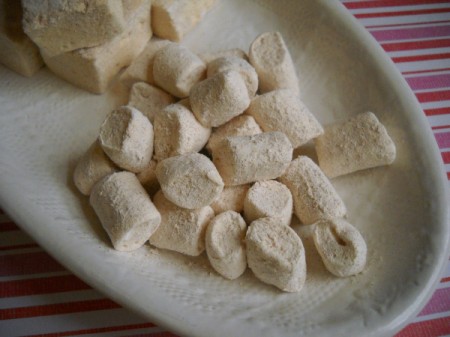
NOTE: I made both types from a single recipe. First I piped out a single pan of minis, which made about 150 of the little cuties—just enough to package and use for this year’s holiday gift (post coming soon on that one!). Then I spread the rest into a 13 x 9 pan, and got 64 larger ones.
MAKE BABY FOOD: Nope.
