Sometimes I feel sorry for Harry. He’s never known the simple pleasure of tearing open a Devil Dog, then licking the stripe of creamy filling off the wrapper. Never thrilled at the thought of two glazed squares of sweet cherry pie tucked inside Drake’s wax-paper sleeve. Never sucked the neon-orange powder off his fingers after a bag of Cheetos.
I think that’s one of the biggest differences between his childhood and mine: While we 1970s kids blithely snacked on newfangled processed foods (and in my case, gorged on them), he’s eating whole grain crackers and home-baked cookies. I’m not trying to get all high-horsey here, and I know some of you might think I’m a little too strict, but Stephen and I have tried pretty hard to limit Harry’s little body’s exposure to chemical preservatives and food coloring. We’re not all-organic here—can’t afford it—but if a product’s ingredients list has more than one thing I don’t use in my own kitchen, most often I skip it.
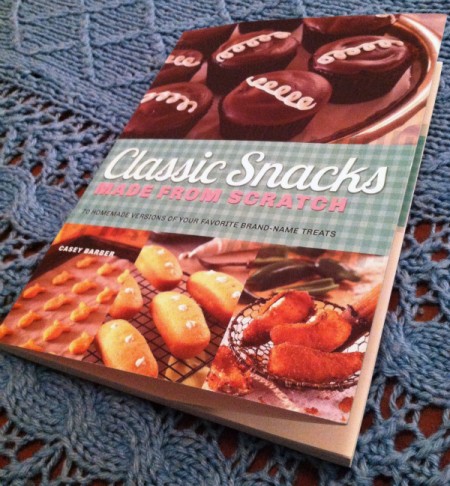
I’d assumed that just by living in the world, Harry would’ve been exposed to most of the popular junk food items, but somehow his awareness remains limited. Which means that when I came home from the party celebrating the publication of my friend Casey Barber’s funfunfun new book, Classic Snacks Made from Scratch, his reaction was less “Oh my god!,” more “Why is someone squirting cream cheese into the corn bread?” That’s right, my son didn’t recognize a Twinkie.
Stephen, on the other hand, was delighted—particularly at the notion of a recipe for Chicken in a Biskit Crackers, an abomination he’d bought recently in a fit of nostalgia (and soon realized was nowhere near the delicacy he’d remembered). He was even happier when I reassured him that no, Casey hadn’t “healthied up” the junk food he loved as a child. These are healthier because they don’t have chemicals and cheap ingredients, not because the recipes themselves are lightened. I may swap in some whole wheat flour, but Casey’s book doesn’t require it.
Once Harry had a chance to page through the book, “Oh my god!” took hold. In fact, when I asked him which thing he’d like to try first, he couldn’t choose. The Hostess Cupcakes! No wait, the Oreos! Hold on… Strawberry Fruit Roll-Ups! The funny thing is, because he’s unfamiliar with most of the brand names, just reading the recipe titles didn’t turn on many lightbulbs in his head—he mostly got excited over recipes with photos. So I had to explain Nutter Butters to him. Once I did, dude was on board.
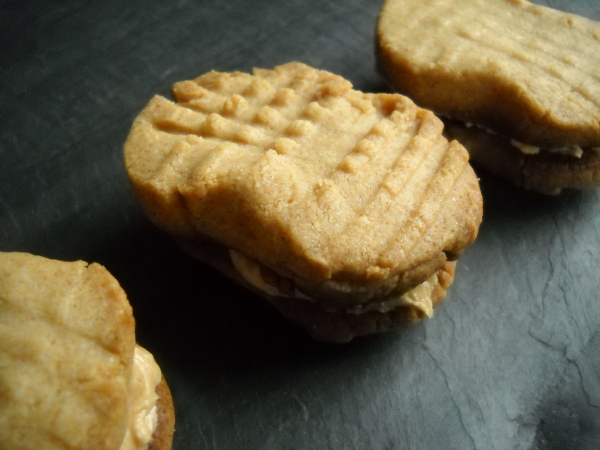
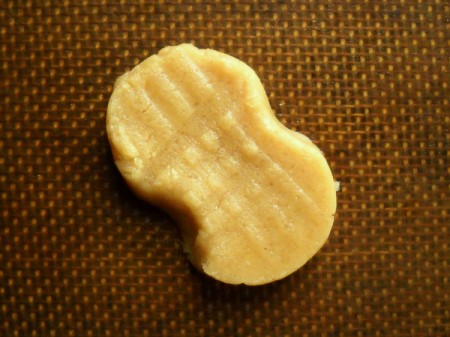
I have distinct memories of eating these peanut butter sandwich cookies as a kid, each time starting out wishing there was some chocolate involved, and each time going back for two more, then two more, until I’d eaten far more than my share of the package (with four kids, we were always aware that we shouldn’t eat too much of any one thing). Casey’s version comes pretty darn close to my childhood experience, with the familiar crumbly texture and the sweet—but not crazy-sweet—peanut buttery filling. Even the shape’s on the money.
We’ve got a four-day weekend ahead, and baking from Classic Snacks Made from Scratch is definitely on the agenda.
What nostalgia-filled food are you dying to make?
Nutter Butters
from Classic Snacks Made from Scratch
Makes 24
COOKIES
2 cups unbleached all-purpose flour
1/2 teaspoon baking powder
1 pinch kosher salt
8 tablespoons (1 stick) chilled unsalted butter, but into 1/2-inch cubes
1 cup granulated sugar
1 large egg
1/2 teaspoon vanilla extract
1/2 cup creamy peanut butter (I used natural & it worked fine)
FILLING
1 cup powdered sugar
1/4 cup plus 2 tablespoons creamy peanut butter
1/4 cup vegetable shortening (I like Spectrum Organic)
MAKE THE COOKIES:
- Whisk the flour, baking powder, and salt together in a medium bowl; set aside.
- In the bowl of a stand mixer fitted with the paddle attachment, beat the butter and sugar together on medium-high speed for 3 minutes, until light & fluffy. Scrape down the sides of the bowl and add the egg and vanilla on low speed. Add the peanut butter and mix on medium speed for 2 minutes more.
- On low speed, stir in the dry ingredients, a bit at a time, until just incorporated.
- Spread 2 large pieces of plastic wrap on a clean surface and divide the dough into 2 equal pieces. The dough will be crumbly—don’t worry. Wrap each portion of dough tightly to form a cylinder around 8 inches long and 1 1/2 inches in diameter. If you’ve got two paper towel tubes, push the dough logs inside. Place in the freezer for at least 30 minutes.
- Preheat the oven to 350°F. Line 2 baking sheets and set aside.
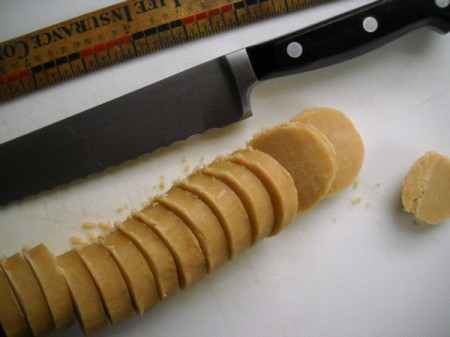
- Use a serrated knife to cut each dough log into 24 slices, and place on the prepared baking sheets—they won’t spread much, but I still needed to do this in two batches. Put the sheets in the oven for 30 seconds, then remove and use a fork to make hashmarks on each cookie, then give each a gentle squeeze in the center to form a peanut shape. Return to the oven and bake for 11 to 13 minutes, until the cookies are dry and no longer shiny on top, but not yet browning at the edges. They will seem slightly underbaked, but remove them anyway. (NOTE: the recipe says 13 to 16, but mine were browned after 12 minutes) Cool the cookies completely on wire racks.
FILL THE COOKIES:
- While the cookies cool, make the filling. Using a stand mixer fitted with the paddle attachment or a hand mixer, cream together the powdered sugar, peanut butter, and shortening until fluffy—first on low speed until the sugar is incorporated, then on high speed to fluff it up.
- Spread the filling evenly on the flat (bottom) side of 24 cooled cookies, then top with the remaining cookies.
Store the cookies in an airtight container at room temperature for up to a week.
MAKE BABY FOOD: Uh, not so much.
